Office storage cube bunny condos are cheap, customizable, and lots of fun for your bunny
In this guide we take a look at a popular type of bunny enclosure built by lashing together storage cube shelving. These so-called Bunny condos are a great for building a pen and even more complicated structures.
These are made of wire grids about foot across, originally designed for office storage however with a pack of cable ties and some imagination and a little effort can be used to create your bunny his own enclosure with lots of levels, shelves, and areas.
From $ 30
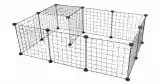
Wire grids
The advantage of this type of systems are
It can be made to fit into any area of your home
It can be extended or re-arranged to meet your needs
You can add levels to build it upwards
The disadvantages of this type of system is:
You are going to have to buy the bits separately and put it together yourself
Step by step guide to building a storage cube bunny condo
Build an office cube condo for your bunny that fits neetly into your home.
Step 1. Making the floor
The first step is to build the floor of the enclosure, these are going to be made by lashing together the sheets to effectively make bigger sheets. Build this up to be the size of the enclosure you want.
Step 2. Making the walls
The next step is to build the four sides of the enclosure, these are going to be made again by lashing together the sheets to effectively make bigger sheets. Lash the walls on to the four sizes of the floor, pull the cable ties tight and don't worry about cutting of the excess now as this is easier to do at the end.
Once you have made the walls stand them up and lash them together. It may seem wobbly at first and you may need a second pair of hands at this stage but as you build the more of the box it will become surprisingly rigid.
Step 3. Making the roof
Next you will need to make the roof, in the same way that you made one on the sides lash together a grid. Once the roof sheet is complete, lash the roof against the walls. If you only lash it along the back edge and along the connecting sides halfway into the middle, you can create a lid that is hinged so you can open it up and reach in.
Step 4. Adding a door
The last stage is to add a door. Simply cut the cable ties along three of the edges of one of the grids and this will naturally hinge open. You will need to find some way to keep the door shut like a spring clip.
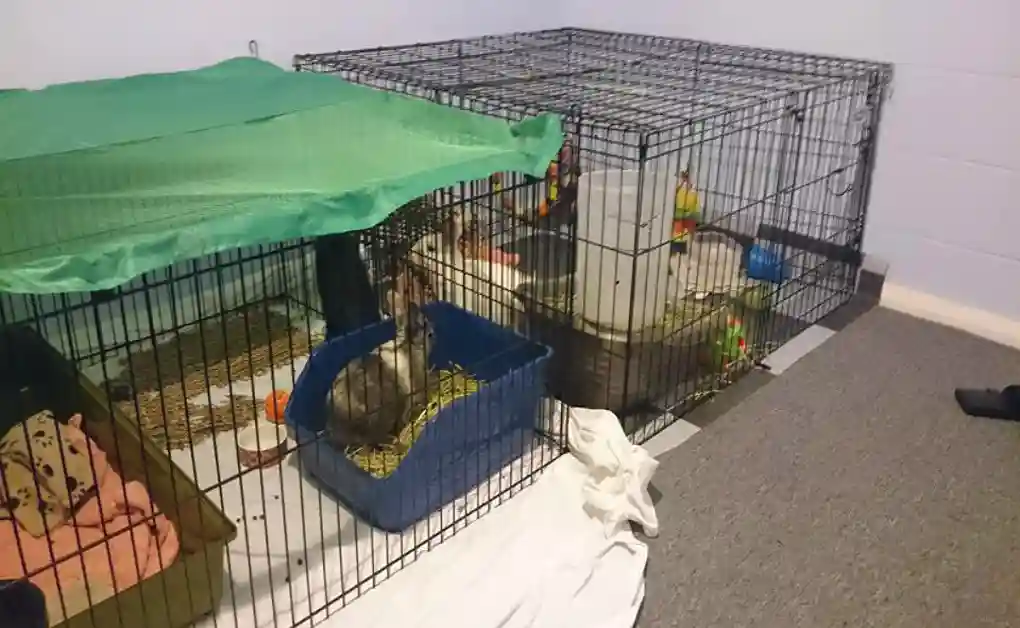 Office storage cube bunny condos are cheap, customizable, and lots of fun for your bunny
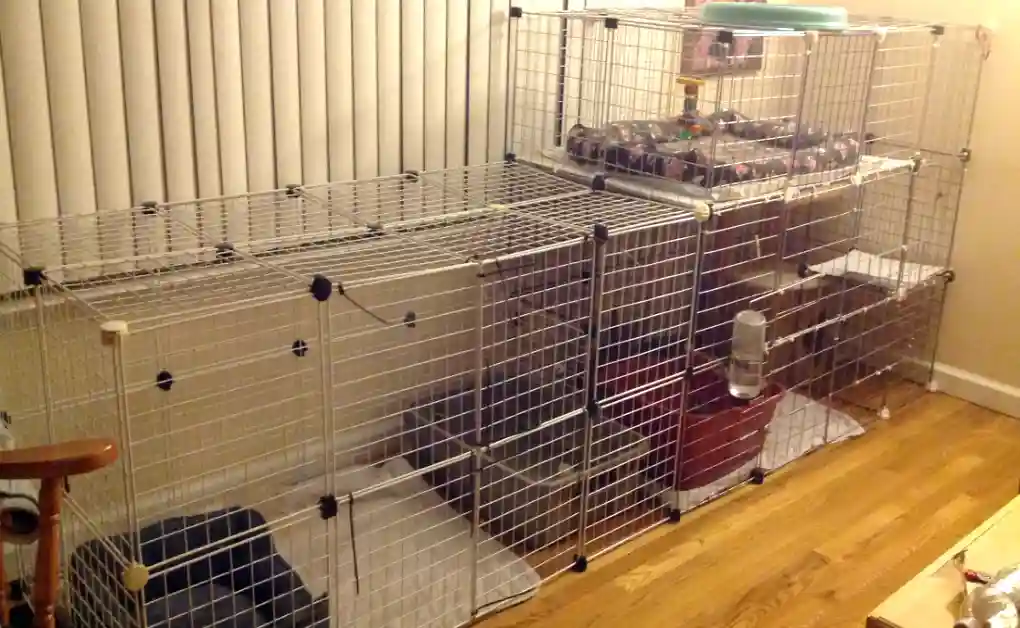 Build an office cube condo for your bunny that fits neetly into your home.